
Last updated November 20, 2026
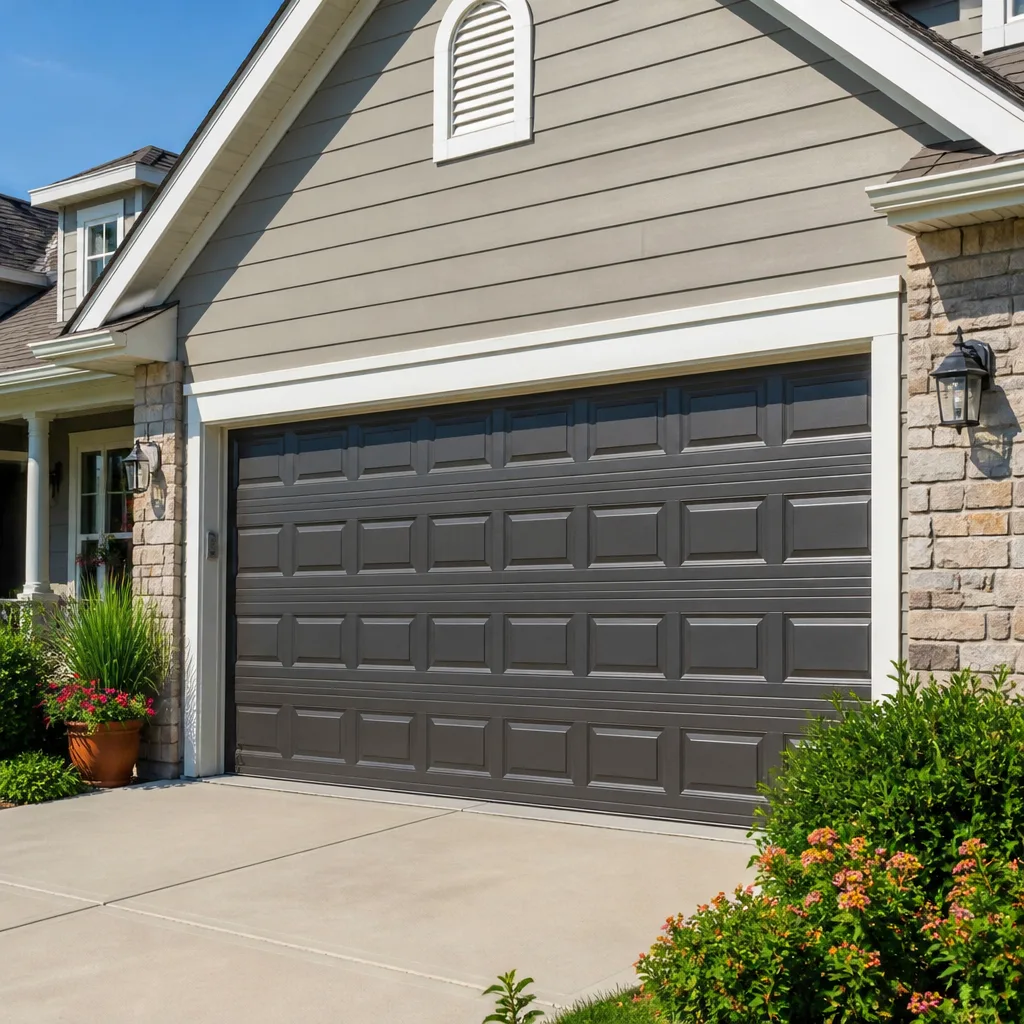 Raised-panel steel
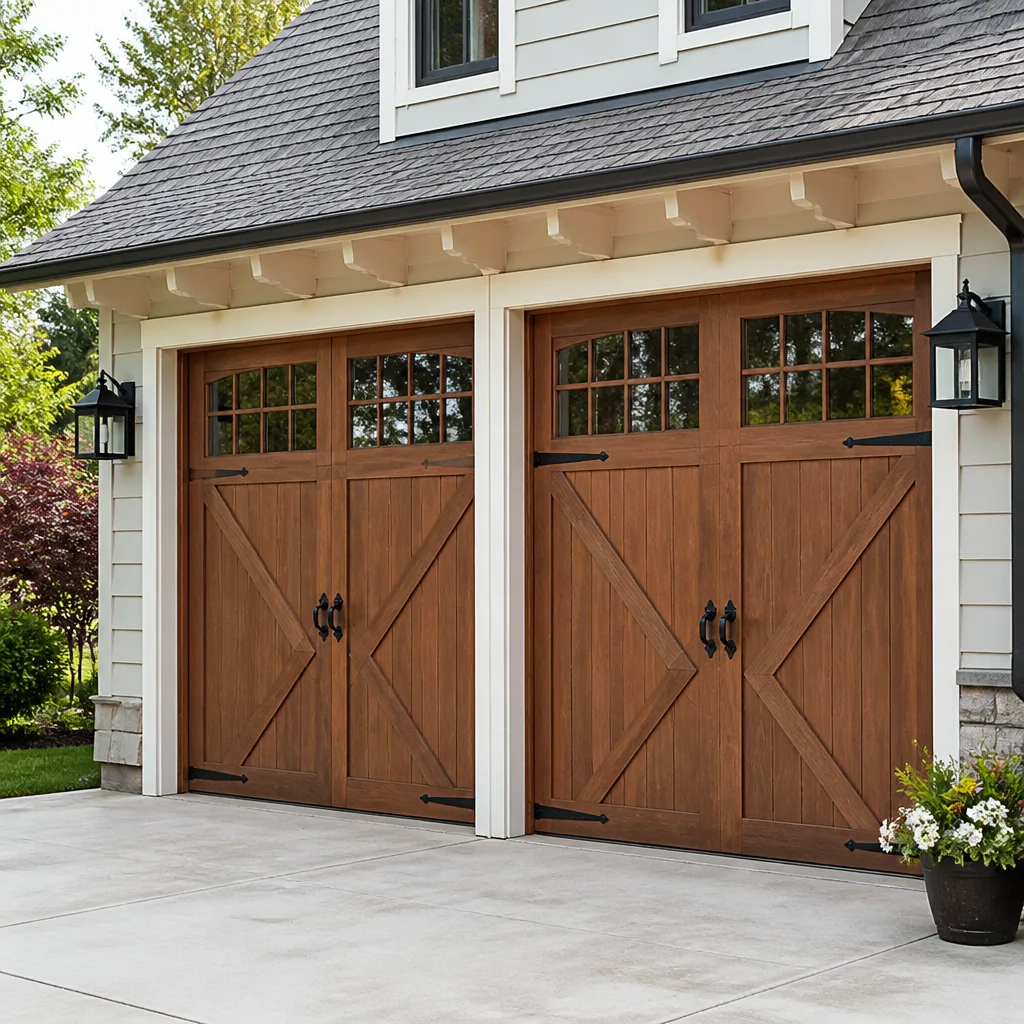 Carriage house
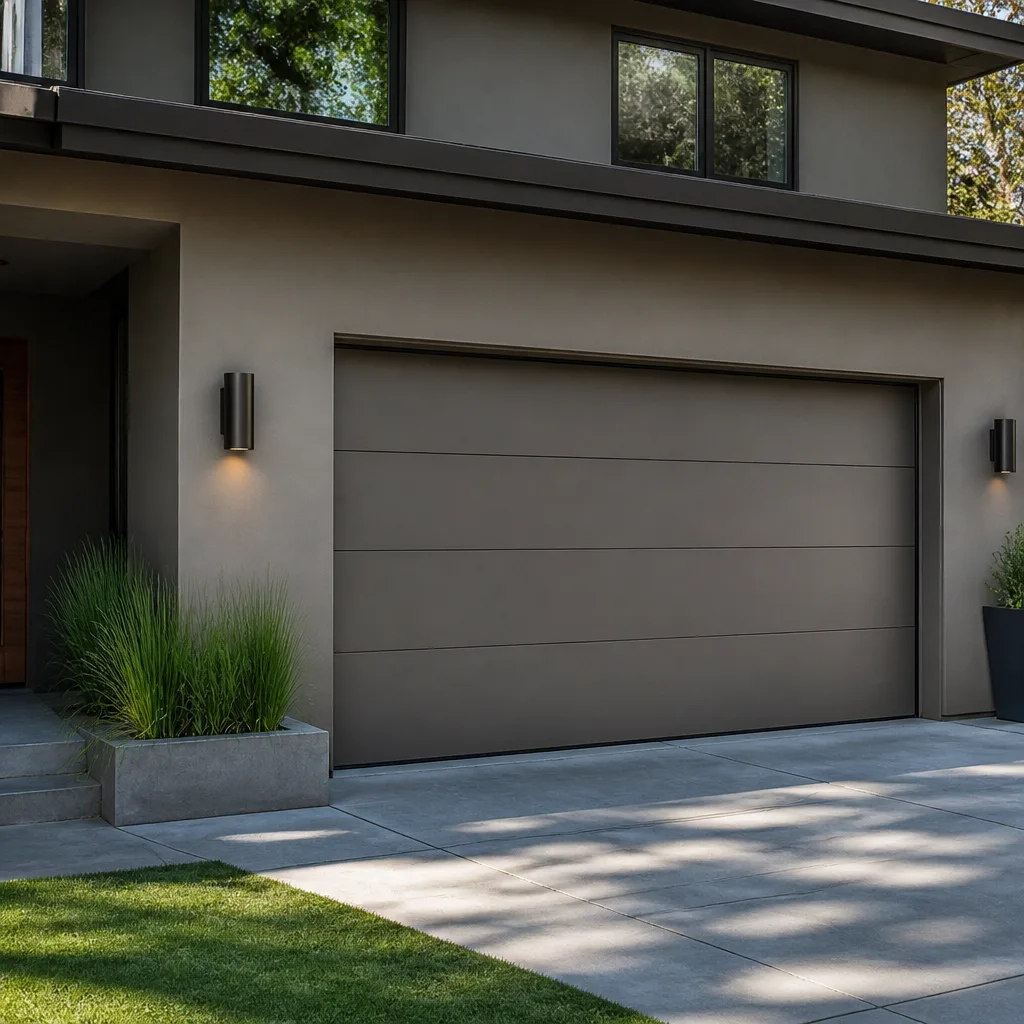 Modern flush
 Full-view glass
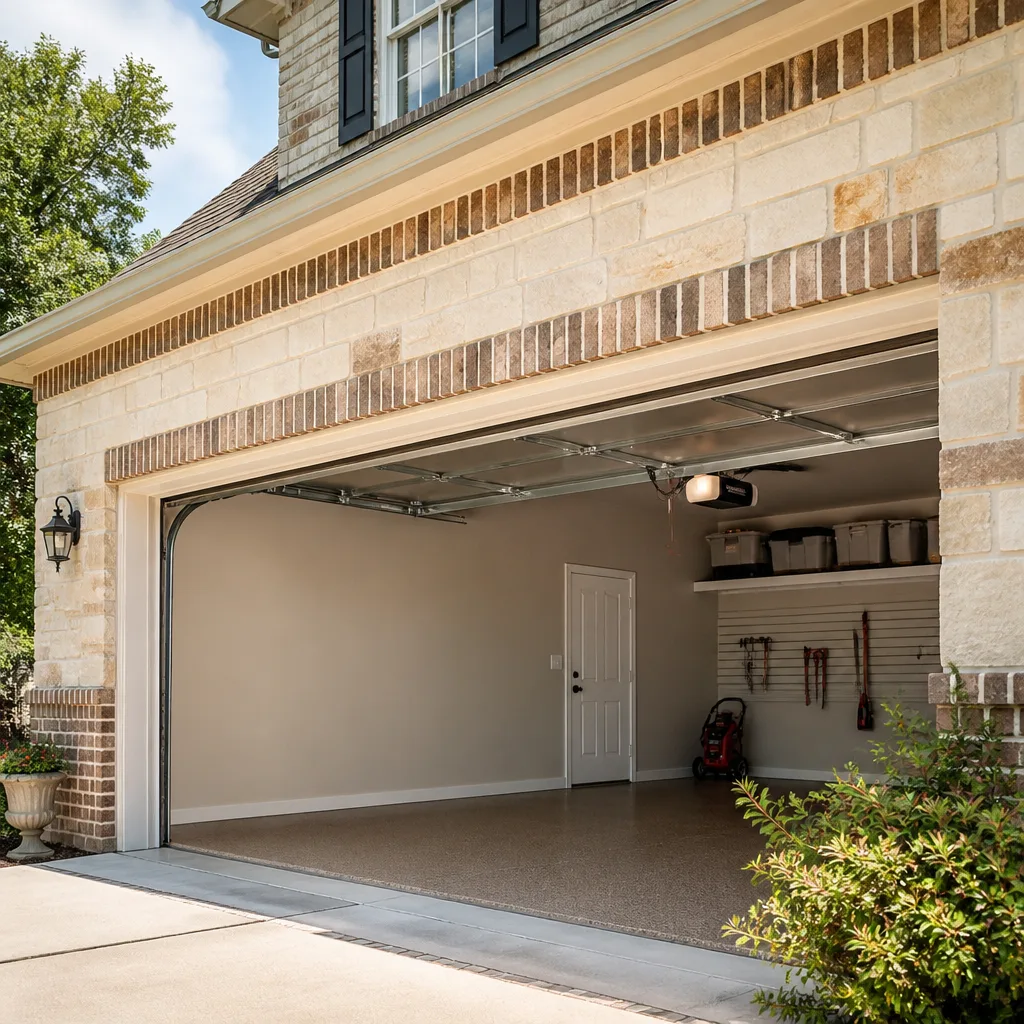 LiftMaster openers
 Chamberlain openers
Full 25-point door and opener safety check with every visit - springs, cables, rollers, tracks, and your LiftMaster or Chamberlain opener included
You get a price before we start. It does not change when the pro arrives.
Get your free estimateGarage Door Repair Maintenance Checklist for Valrico Homeowners
Most garage door failures aren’t surprise events. They’re the result of one specific maintenance task that got skipped for two or three seasons running. The parts that break first in Valrico aren’t the ones homeowners think to check, either. Everyone remembers to squirt something on the hinges. Almost nobody looks at the bottom seal that’s been sitting in standing afternoon rain, or the torsion spring that’s been quietly collecting rust since the last humid summer. This guide is the checklist we’d hand a neighbor: which parts to check, what lubricant actually works, how often each task needs doing, and what’s safe to handle yourself versus what deserves a trained technician. By the end, you’ll understand the list well enough to actually use it.
Quick Answer
A working garage door maintenance routine in Valrico means lubricating the rollers, hinges, and spring bearings every three to four months, inspecting the bottom seal and track for rust and water damage monthly during the rainy season, testing the opener’s reversal and balance twice a year, and having a technician inspect springs and cables annually. Most of the homeowner-safe tasks take 10 to 15 minutes. The parts that cause the most expensive failures – torsion springs and cables – are the ones you should never touch yourself.
Styles & brands we work with
- Raised-panel steel
- Carriage house
- Modern flush
- Full-view glass
- LiftMaster openers
- Chamberlain openers
Table of Contents
- Why Valrico’s Climate Changes Your Maintenance Schedule
- What Homeowners Can Safely Inspect and Lubricate
- The Right Lubricant (and What to Never Use)
- A Realistic Task Schedule: Monthly, Quarterly, Annually
- How to Test Balance, Reversal, and Force Settings
- What Requires a Technician – and Why
- What to Document After Each Inspection
- Common Mistakes to Avoid
Why Valrico’s Climate Changes Your Maintenance Schedule
Valrico sits inland from Tampa Bay in Hillsborough County, which means the doors here live through a specific cycle: weeks of heavy afternoon thunderstorms in summer, followed by months of warm, dry conditions, and then the occasional cold snap that drops into the 40s before bouncing back up. That cycle stresses different parts than a northern climate does. There’s no snow load, no freeze-thaw, no ice. What you get instead is persistent moisture followed by intense heat, and that combination attacks the parts homeowners least expect.
The bottom seal degrades fastest. It sits in whatever water pools on the slab after a storm, then bakes in the sun. Rubber that would last years in a dry climate can dry out, crack, and lose its seal inside two or three summers in Valrico. A failing seal lets rain and humidity under the door, which then goes after the track and the panels above the seal line.
Torsion spring corrosion is the second quiet killer. Humidity doesn’t rust a spring overnight, but over a couple of seasons, surface rust starts to form between the coils. That rust creates friction, the spring has to work harder than it was designed to, and the fatigue that eventually cracks it gets accelerated.
Track rust follows the same pattern. Steel tracks in a Valrico garage see condensation cycles almost every month of the year. Rust between the rollers and the track creates drag, and drag wears out everything upstream.
- Fastest to degrade: Bottom seal, torsion spring surface, lower track sections
- Moderate: Rollers, hinges, opener force settings (which often need adjustment as weather shifts)
- Lower priority: Top of the door, upper track, opener rails (still worth checking, just not the first failure point)
What that means practically: if you’re going to spend 15 minutes on maintenance, spend it on the parts the Valrico climate is actively attacking. That’s the bottom seal and the lower half of the door, not the shiny hinge you can reach while standing up straight.
What Homeowners Can Safely Inspect and Lubricate
There’s a line in garage door maintenance between safe-to-handle and call-a-professional, and it’s clearer than most homeowners assume. The safe side of that line involves anything that doesn’t store tension and anything that doesn’t move when the door is under load. The dangerous side involves both.
You can safely inspect, clean, and lubricate:
- Rollers – the wheels that ride inside the track. You can lubricate them and check for flat spots or wobble, but don’t remove them.
- Hinges – the metal plates connecting the sections. Lubricate the pivot points. If a hinge is cracked or the screws are backing out, note it and leave the repair to a technician.
- Track cleaning – you can wipe rust and grime off the track with a rag. Do not attempt to adjust the track’s alignment; the bolts holding it are set for a reason.
- Bottom seal inspection – run your hand along the seal and look for cracks, hardness, gaps against the floor, or visible water staining on the door above it.
- Weatherstripping around the doorframe – inspect for gaps or rot at the corners, especially near the ground.
- Photo eye alignment – both sensors near the floor should have a light on. If one is dark or the LED isn’t steady, it needs cleaning or realignment.
- The door’s balance and force settings – tested, not adjusted. More on those tests below.
You should not touch: torsion springs, extension springs, the cables, the bottom bracket, the center bearing plate, or the bolts holding the track to the frame. Those are all either storing enormous tension or controlling how the door’s weight distributes. If you’re not sure whether a part belongs to one category or the other, treat it as dangerous and stop. This isn’t liability hedging. A torsion spring under load has enough stored energy to cause serious injury in an instant if it’s mishandled, and the same goes for a cable that’s under a live spring’s tension.
What separates a diagnostic visit from a DIY-botched repair is usually whether you knew which parts to leave alone. If you want a technician to handle anything past inspection and lubrication, our Valrico Garage Door Repair service covers every brand we work with regularly.
The Right Lubricant (and What to Never Use)
White lithium grease or a silicone-based garage door lubricant is what you want. Both are easy to find at any hardware store, both hold up in Valrico’s heat without melting off the parts, and both stay slippery across the temperature swings the door sees. Spray them onto the hinge pivots, roller stems (not the roller wheels themselves; the wheels roll on the track, the stems spin in the hinge), and the spring bearing plate if you can reach it without touching the spring.
What not to use:
- WD-40 (the standard blue-can product) – it’s a solvent more than a lubricant. It’ll clean away grime for a few days, then evaporate and leave the part drier than before. There are WD-40 brand specialist lubricants that work fine, but the plain formula isn’t what you want here.
- Cooking spray or household oil – too thin, attracts dust, doesn’t hold up to heat.
- Motor oil or thick gear oil – attracts dirt so aggressively in a Florida garage that you’ll make the track grittier, not smoother.
- Anything on the track surface itself – the track should stay clean and dry. Lubricating the track makes the rollers slide instead of roll, which is worse. The rollers are what need lube, not the rail they run on.
For the opener’s moving parts (the screw drive or belt on a LiftMaster or Chamberlain system, for example), check the manual. Belt drives usually don’t need lubrication. Screw drives often do, and the manual will tell you what the manufacturer recommends. Genie and Chamberlain openers can each want slightly different products, and following the manual beats guessing.
This is one of the tasks where the Valrico heat matters more than most homeowners realize. A lubricant applied in the fall in a cooler climate might last six months. In Valrico, it’ll dry out and get dustier faster. Plan on re-applying every three to four months, especially in the summer.
A Realistic Task Schedule: Monthly, Quarterly, Annually
Most maintenance checklists tell you to “regularly inspect” everything, which is why nobody actually does them. Here’s a schedule in order of how often each task should happen, with honest time estimates.
Monthly (5 minutes)
- Walk the perimeter of the door with a flashlight. Look at the bottom seal for gaps against the floor, especially after a hard rain.
- Check the photo eyes. Both should have their LED lit and steady. Wave your arm through the beam with the door open; the door should not move. If it does, stop using the opener and call for repair.
- Look at the track for visible rust or water staining. Note it, don’t try to fix it yet.
Every 3 to 4 months (15 minutes)
- Lubricate the hinges, roller stems, and spring bearing plate. Same lubricant as above. Wipe up any excess.
- Wipe down the track surfaces with a dry rag. Don’t spray anything on them.
- Test the door balance. Pull the release cord with the door closed, then lift the door halfway by hand. It should stay where you put it. If it slams down or drifts up, the springs are out of balance and need a technician.
- Test the reversal setting. Place a 2×4 flat on the ground under the door and close it. The door should reverse before contacting the wood. If it doesn’t, the opener’s force or travel limits need adjustment.
Twice a year
- Condition the bottom seal. A silicone-based rubber protectant helps slow the drying-out process.
- Inspect the weatherstripping around the frame. Rotted or gapped strips let in water, which finds its way to the track and floor.
- Review the opener’s manual for any brand-specific service. Craftsman, Genie, LiftMaster, and Chamberlain manuals all have slightly different notes.
Annually
- Have a technician inspect springs, cables, and track alignment. This is the one task that belongs to a professional. Their eyes will catch spring fatigue and cable wear long before you will.
- Consider replacing the bottom seal if it’s showing cracks or hardness. A seal that no longer blocks water lets the humidity attack everything above it.
Total homeowner time: roughly 2 to 3 hours across a year. That’s the difference between a door that lasts through a decade of Valrico summers and one that has to be replaced a few years early.
How to Test Balance, Reversal, and Force Settings
These are the safety checks most homeowners have never done, and they’re the ones that matter most. Each takes under two minutes, and each tells you something a technician will want to know.
The Balance Test
- Close the door fully.
- Pull the red release handle to disconnect the door from the opener.
- Lift the door about halfway up by hand, then let go.
- A balanced door stays roughly where you left it. A door that falls fast means the springs are weak or broken. A door that rises on its own means springs are over-tensioned.
- Reconnect the door to the opener by running it until it re-engages the carriage.
If the door fails the balance test, don’t retest it repeatedly. The spring is the part under load, and repeatedly cycling a failing spring accelerates the risk of it breaking. Call for service.
The Reversal Test
- Place a 2×4 or similar object flat on the floor under the middle of the door, where the door would meet it.
- Close the door using the opener.
- The door should contact the wood and reverse to the open position before the bottom seal touches it.
- If the door presses down on the wood or stops without reversing, the opener is out of adjustment or broken.
The Photo Eye Test
- With the door open, wave an arm or a long object through the beam with the door at chest height.
- Close the door with the opener. The door should not move; the sensor should register the obstruction and the opener should stop trying.
- If the door tries to close anyway, one of the sensors is misaligned, dirty, or failed.
Force Settings
Every opener has a force adjustment on the back or side of the housing, usually labeled with a screw and an arrow. The force setting controls how hard the opener pushes to move the door. In Valrico’s heat, opener settings often need adjusting as the door’s rubber and hinges get slightly stiffer in the summer. You can turn the force setting down gently and re-test the reversal; you should not turn it up to force a door that isn’t moving smoothly. If the opener needs more force than before, something mechanical is dragging, and that’s the real problem.
If testing reveals a reversal or force problem on a Genie or LiftMaster system, we can diagnose and adjust it as part of garage door opener repair.
What Requires a Technician – and Why
Three parts of a garage door pose real risk to anyone without proper training and equipment. Understanding why helps you know when to stop and call.
Torsion Springs
Torsion springs hold the entire weight of the door. They’re under enormous stored tension, and they’re the first component that causes injury in DIY garage door work. A spring that breaks mid-repair, or a winding bar that slips while you’re adjusting tension, can cause serious injury. There’s also a real possibility of damaging the door in a way that’s more expensive than the original repair. Replacement of a torsion spring isn’t a job for a homeowner, full stop. For anyone ready to have it checked or replaced, garage door spring repair covers what that visit involves.
Cables
Cables are under the same load as the springs, and they run through pulleys and drums that need proper seating. A cable that’s snagged, frayed, or off its drum needs immediate attention because a door running on a compromised cable can come down hard. Don’t try to reseat a cable yourself.
Track Alignment and Bracket Work
When a track is bowed, or when the bolts holding the track brackets have shifted, the door can bind, catch, or drop. Realigning a track is a job that requires knowing the door’s correct geometry and the load the track is bearing. Homeowners who try this often make the alignment worse, and getting it back to spec requires more work than the original fix.
Opener Programming and Diagnostics
Opener issues get tricky because the problem often isn’t the opener. A door that won’t close fully might have a force setting problem, a photo eye issue, a broken spring, or a travel limit problem. Diagnosing which requires actually testing the door’s mechanical state. This is where brand familiarity helps: working on Clopay doors and pairing them with the right Chamberlain or LiftMaster opener for a Valrico home is different from working with an old Craftsman system that’s been there since the 90s.
If any of the checks above fail and you’re not sure what’s causing it, that’s the moment to call. Fast dispatch from 7am to 7pm, Sunday through Friday, gets a technician out to look at the actual door.
What to Document After Each Inspection
Most homeowners run through a maintenance checklist and then forget what they saw by the time the next service happens. That’s the difference between a fix and a fix that lasts: knowing the pattern.
After each inspection, note the following:
- Date and what you tested. A simple note is enough: “Lubricated hinges, checked photo eyes, tested reversal – passed.”
- Bottom seal condition. Rate it simply: fine, showing cracks, coming loose at a corner, gaps against the floor. If it changes from one check to the next, that’s a pattern.
- Track appearance. Note if rust is appearing, if you can see water staining above the floor line, or if the track looks bowed.
- Balance test result. Does the door stay at half-mast on the balance test, or is it drifting? Balance drift usually points to spring fatigue, and a technician can measure that trend.
- Opener behavior. Any change in sound (grinding, clicking, humming without moving the door), speed, or reversal response. Note the date of any behavior change.
- Photo any visible issues. A phone photo of a rusty spring or a gapped seal tells a technician more than a description will.
When a technician visits Valrico, that log is more useful than you’d expect. Springs don’t fail overnight; they fatigue. If the log shows the door getting stiffer on the balance test across two consecutive checks, a technician can measure spring tension and replace it before it breaks. The same applies to the seal: catching it early is a low-cost replacement, catching it late is water in the track and a bigger repair.
Keep the log near the garage, or use a notes app on your phone. The point isn’t the format. The point is having something to compare against next time.
Common Mistakes to Avoid
- Greasing the track itself. It’s the single most common mistake. The track should stay clean and dry; lubricating it makes the rollers slide instead of roll, which actually wears the track faster. Lubricate the rollers and hinges, not the rail.
- Using standard WD-40 as a lubricant. It evaporates and leaves the parts drier than before. In Valrico’s heat it also attracts dust, which clogs hinge pivots. Use white lithium grease or a silicone-based lubricant instead.
- Loosening the springs “just a little” to make the door easier to lift. A door that’s hard to lift isn’t a spring that’s too tight. It’s a track or roller problem, or a spring that’s already failing. Adjusting spring tension by hand is where injuries happen.
- Turning the opener’s force up to compensate for a stiff door. When the door gets stiff in a Florida summer, the instinct is to increase force on the opener. The correct move is to figure out what’s dragging – usually the rollers, a gapped seal, or a slightly misaligned track – and fix that. Forcing a stiff door burns out openers and can crack panels.
- Skipping the bottom seal. It’s the least visible part of the door and the fastest-degrading one in Valrico’s rainy season. A failing seal lets water into the track, which leads to rust, which leads to drag, which leads to spring and opener repairs. It’s the cheapest part to replace and the most expensive one to ignore.
- Not testing the reversal function. Homeowners often test the photo eyes and think they’re done. The mechanical reversal test with a 2×4 (see above) is a separate check, and it’s the one that catches a door that will push down on a toy or a hand. If you’ve never done this, it’s the first maintenance task to run.
- Ignoring balance drift. A door that passes the balance test today but drifts slightly tomorrow is telling you something. Treat balance drift as a warning that pre-dates a spring failure by months. Compare against your log; a trend is what matters, not a single reading.
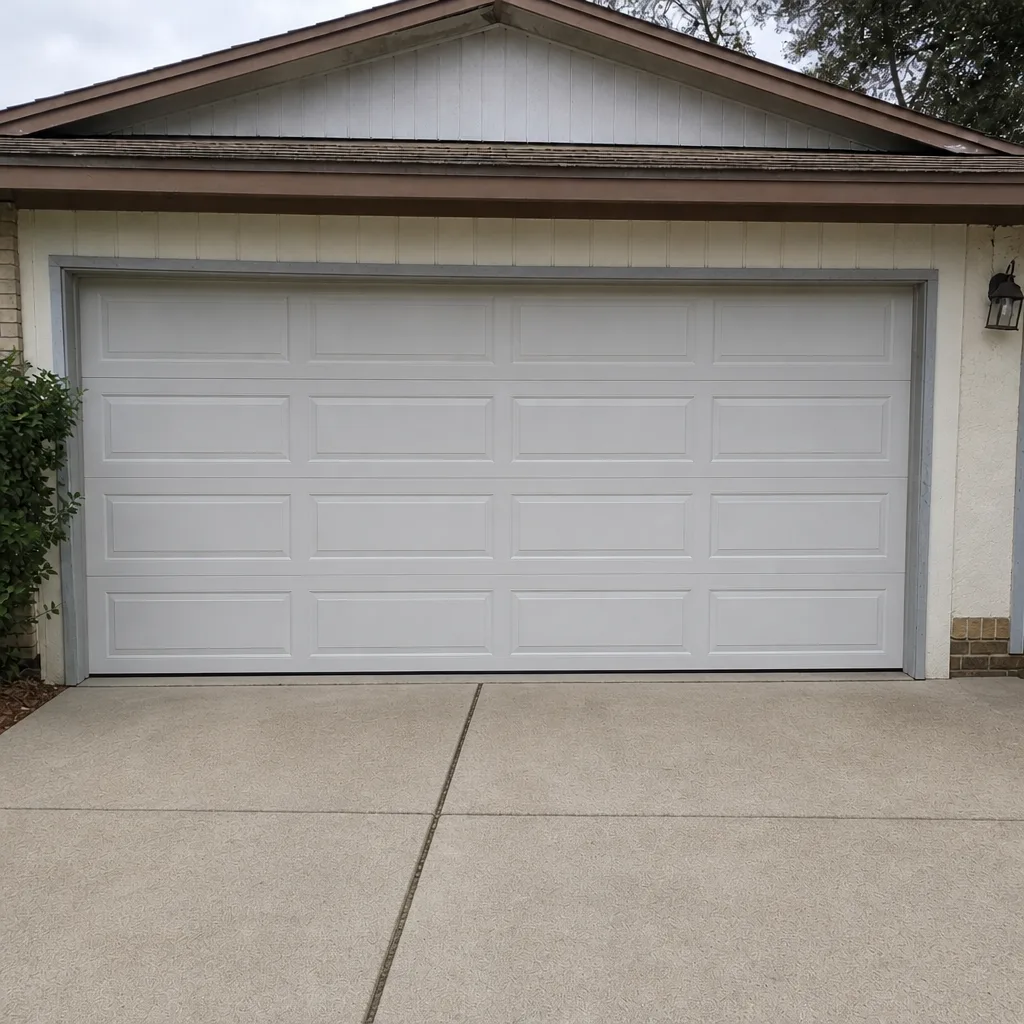
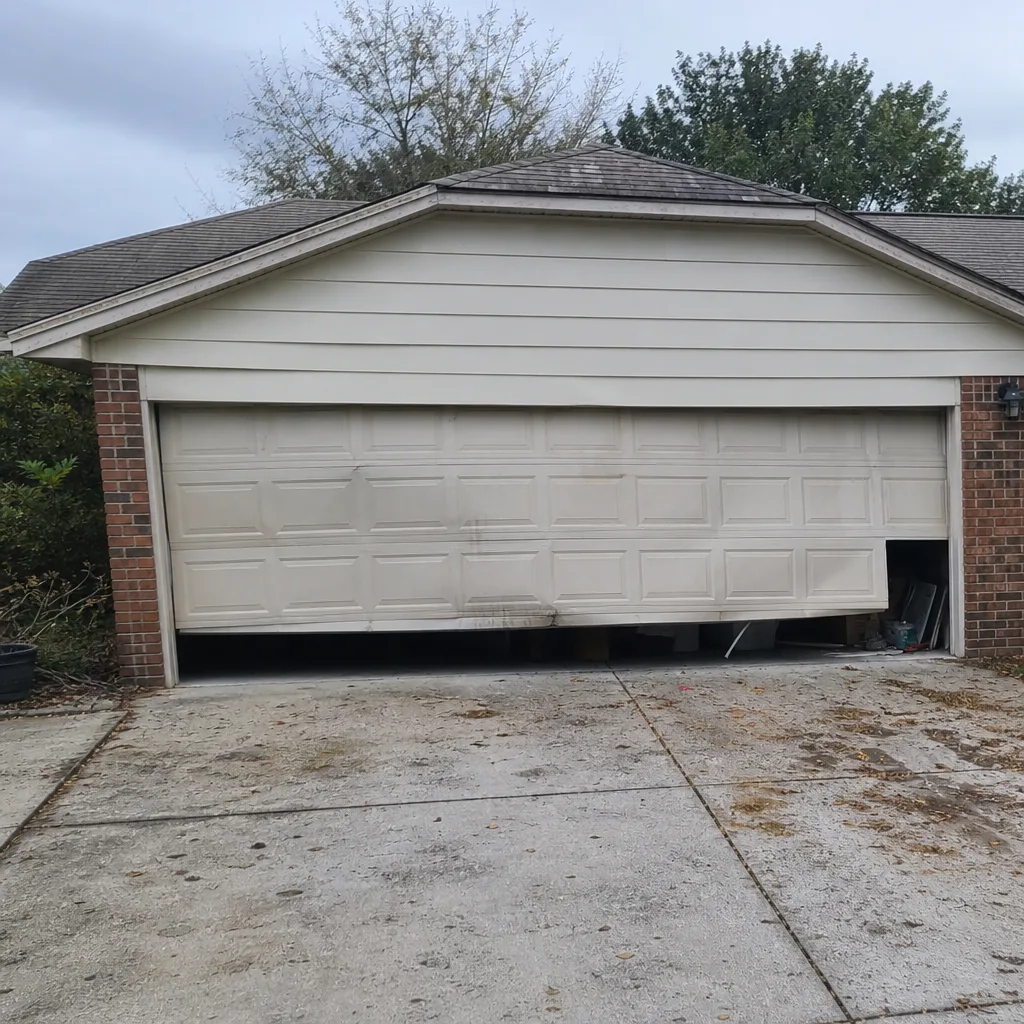
See the difference
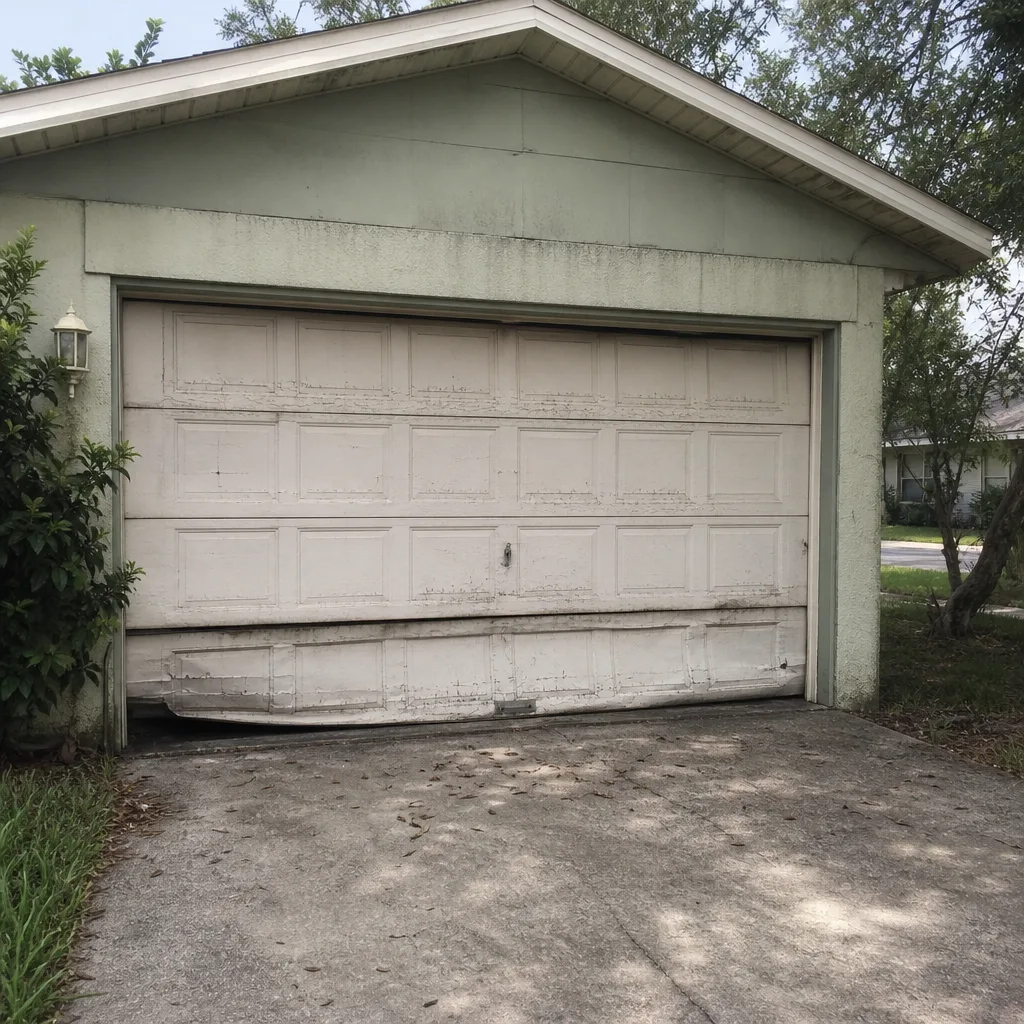 Before
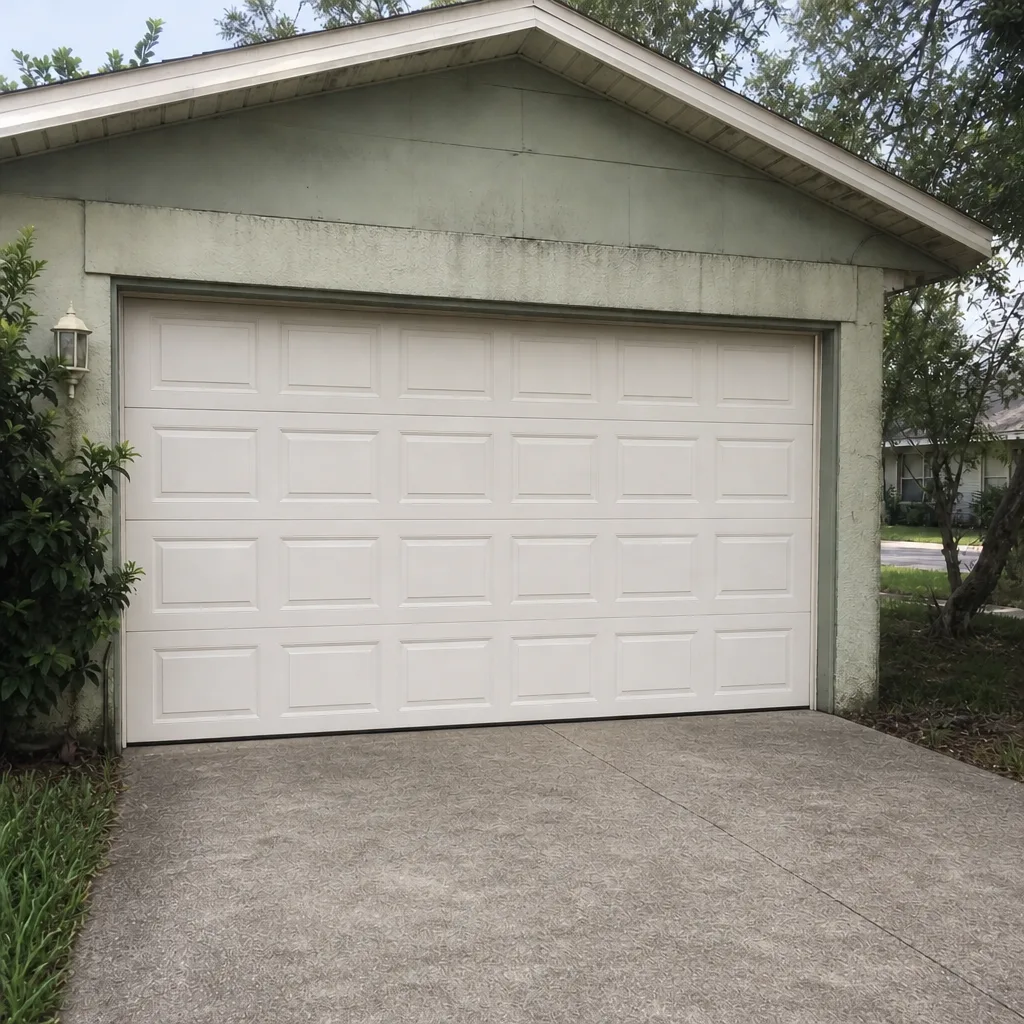 After
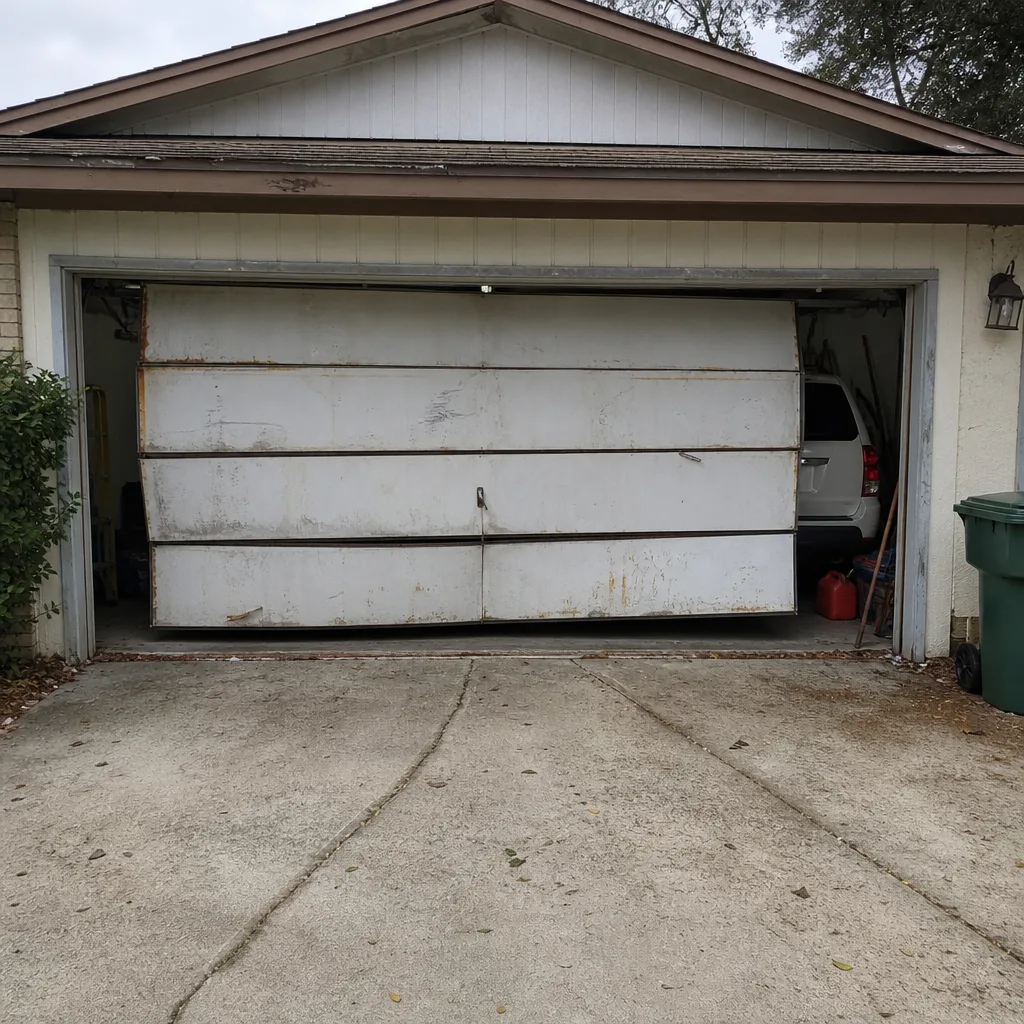 Before
 After
 Before
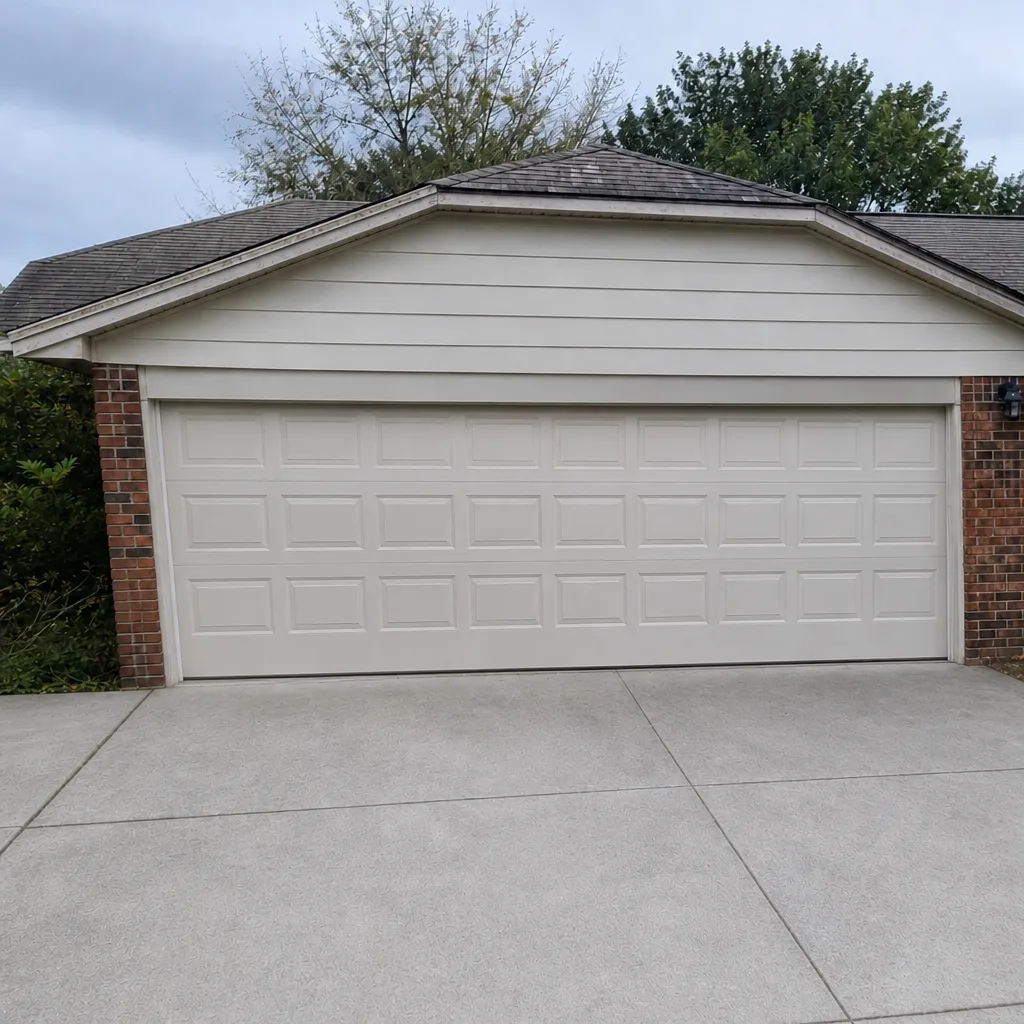 After
When to Call a Professional
Call a professional the moment any of these happens: the balance test fails, the reversal test fails, a spring is visibly cracked or broken, a cable is loose or snagged, the door won’t close completely and you can’t identify why, or the opener hums without moving the door. These aren’t problems a maintenance routine is meant to solve, and they’re the signs that a technician can actually prevent a bigger failure by getting to the parts involved. If you’re in the middle of the checklist and you’ve hit a check you can’t complete safely, that’s the call. Valrico Garage Door Repair offers free estimates in Valrico – call (866) 346-9311. We answer 24/7. Fast dispatch from 7am to 7pm, Sunday through Friday. A call outside dispatch hours is booked into the next opening, Sunday through Friday, 7am to 7pm.
Frequently Asked Questions
Every three to four months, roughly in line with each season change. Valrico’s heat and humidity dry out lubricant faster than cooler climates do, so monthly is more than needed and every six months is too little. Hinges, roller stems, and the spring bearing plate are the parts that benefit most. Call (866) 346-9311 if you want a technician to lubricate and inspect the full door during a service visit.
White lithium grease or a silicone-based garage door lubricant. Both hold up to Valrico’s summer temperatures without melting off the parts, and both stay effective through the humidity cycle. Avoid standard WD-40 (it’s a solvent, not a real lubricant), cooking spray, and motor oil; those either evaporate, attract dust, or both. Call (866) 346-9311 for questions about your specific door’s lubrication needs.
No. Torsion springs store enough energy to cause serious injury in a split second, and the winding process requires specific tools and training for a reason. Removing or adjusting a torsion spring is the one part of garage door maintenance that should always go to a technician. Everything else in this guide is safe to handle yourself. Call (866) 346-9311 if you suspect a spring problem.
Pull the door’s release handle with the door closed, lift it halfway by hand, and let go. A balanced door stays where you leave it. A door that drops on its own has weak springs; one that rises on its own has over-tensioned springs. If either happens, stop using the door until a technician can look at it. Call (866) 346-9311 to book a service call.
The bottom seal and hinges stiffen slightly in high heat, and a small amount of extra drag is normal. A door that gets noticeably harder to open is telling you something’s dragging more than it should – usually worn rollers, a dried-out seal, or a slightly misaligned track. Turning the opener’s force up to compensate is the wrong move. Call (866) 346-9311 and we can diagnose the drag before it turns into an opener failure.
That’s usually a photo eye issue, a force setting problem, or a limit switch that’s drifted. Start by checking both sensors near the floor – they should each have a steady LED and be pointing at each other. If the sensors look good, run the reversal test on this guide. If it still reverses, the opener needs adjustment. Call (866) 346-9311 to book a service call; fast dispatch from 7am to 7pm, Sunday through Friday.
The Bottom Line
Garage door maintenance in Valrico isn’t a mystery list. It’s a specific routine targeting the parts the local climate actually attacks: the bottom seal, the spring surface, the lower track. Lubricate the right parts every three to four months with the right product, test the balance and reversal functions twice a year, log what you see so a technician can spot the trends, and leave the springs, cables, and track bolts to someone trained on them. That’s 2 to 3 hours a year of your time, and it’s the difference between a door that survives a decade of wet summers and one that doesn’t. If any check fails or you’re unsure what you’re looking at, call us – the diagnosis is worth more than another guess. You can also start with garage door repair if you need an issue looked at right away, or read up on how we handle garage door opener repair and garage door spring repair if that’s where your checklist points. If you’re in Valrico and want a technician to walk through the list with you in person, call (866) 346-9311 for a free estimate. We work on LiftMaster, Chamberlain, Genie, Clopay, Amarr, Wayne Dalton, Craftsman, and Raynor systems regularly, so whatever make and model you have, one call likely covers it. We answer 24/7. Fast dispatch from 7am to 7pm, Sunday through Friday. If you call outside those hours, we’ll book you into the next opening, Sunday through Friday, 7am to 7pm. Garage doors are all we do. Whether you’re in Bloomingdale, Lithia, or anywhere else in the Valrico area, this checklist works for your door, and so do our technicians.
Written by the team at Valrico Garage Door Repair.